 Whether you are purchasing a used RV or you already own an RV it’s a good idea to periodically inspect it for any water damage. I would list water damage as the number one problem RVs experience. RVs flex when they travel down the road and sealants dry out and separate, especially when the RV is exposed to the elements.
Inspecting your RV for water damage can save you lots of money if you find the leak early and take care of the problem. This post is intended to give you a logical process to follow so you can properly inspect your RV for water damage. I recommend inspecting the RV for water leaks twice a year at minimum, once in the fall and again in the spring.
The first thing you need to understand is that every seam on your RV, and anywhere the RV manufacturer cut a hole in your RV has the potential to allow water in. It’s important that you take your time and really inspect all of these seams and sealants on the RV. I always say that water damage on an RV is similar to progressive damage to a tire. The outside of the tire still looks fine, but the internal damage over period of time causes the tire to fail without any warning. The outside of your RV can look okay but the internal damage caused by water over a period of time can result in the entire roof, floor or wall rotting away without you knowing it.
Here is a basic guideline to follow during your inspections:
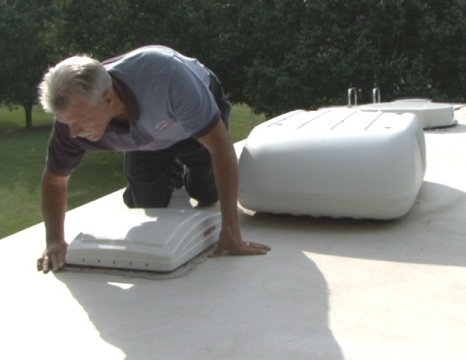
Caution: Always keep safety in mind when you are working on the roof of your RV. A slip or fall can cause serious injury or death.


You must be logged in to post a comment.